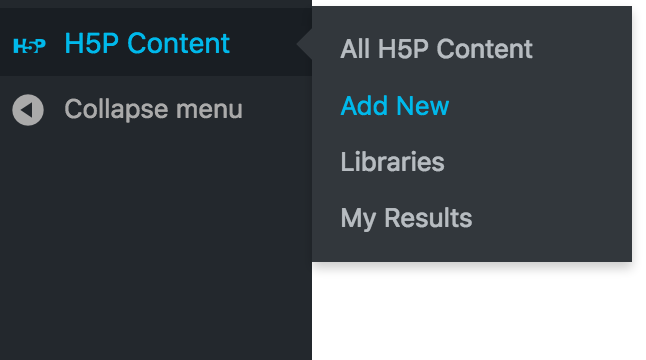
In the sidebar to the left of your screen in WordPress, scroll over “H5P Content” and select “Add New” from the drop down box.
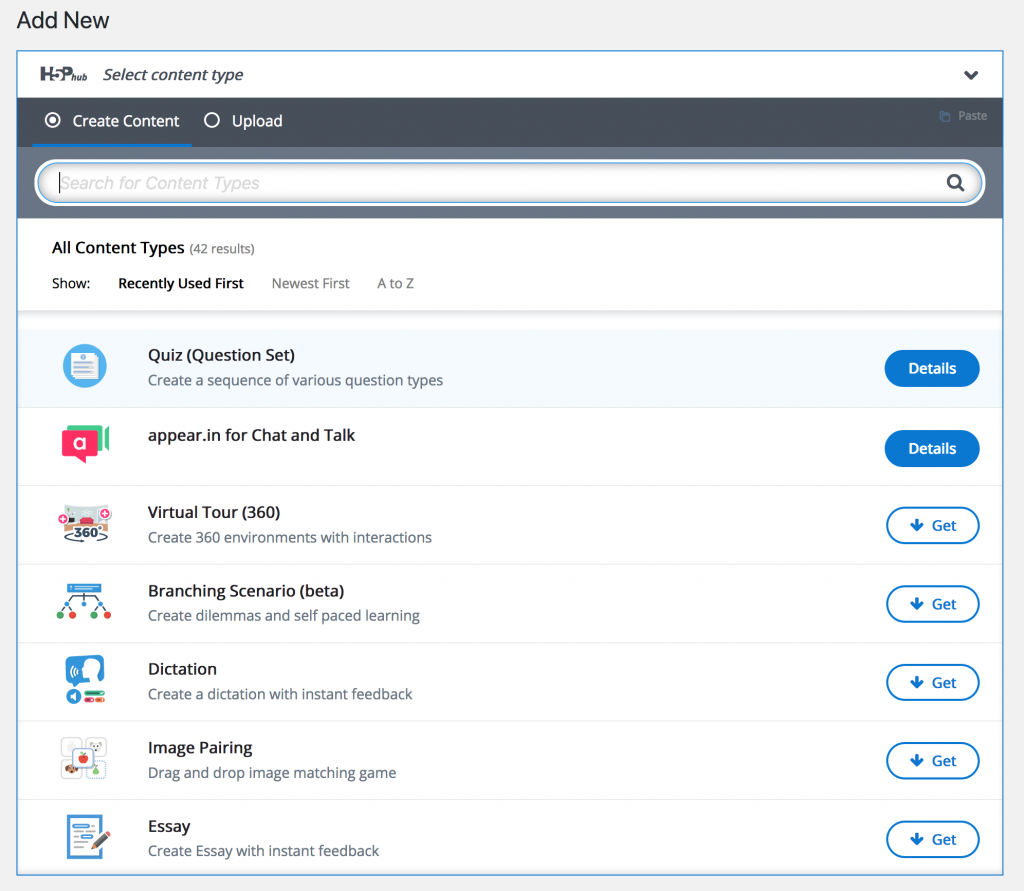
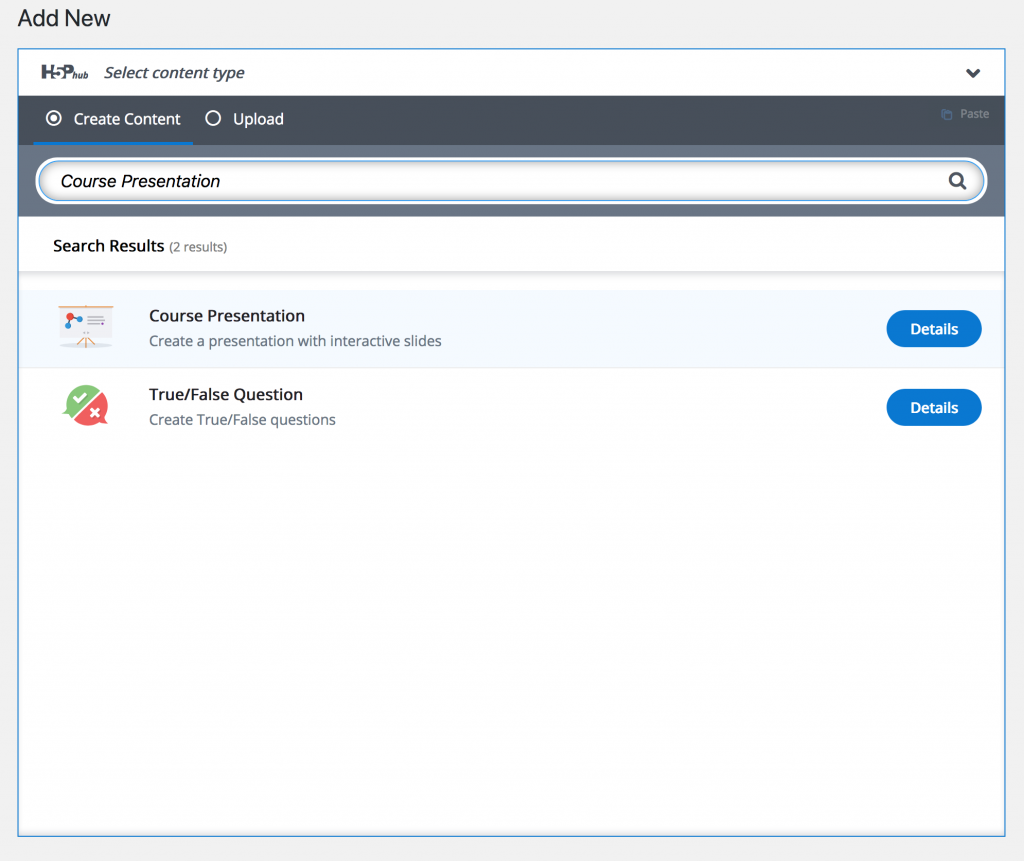
Use the search bar to search for “Course Presentation” and select it from the list. If you have never used it before, you will need to click “Get”.
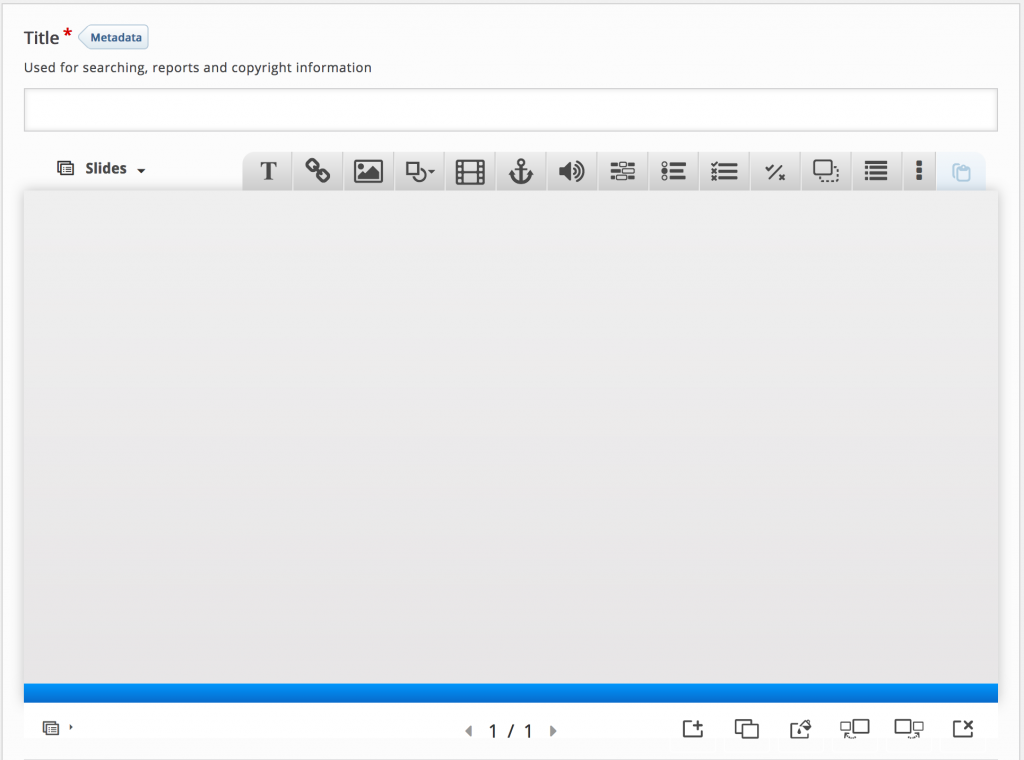
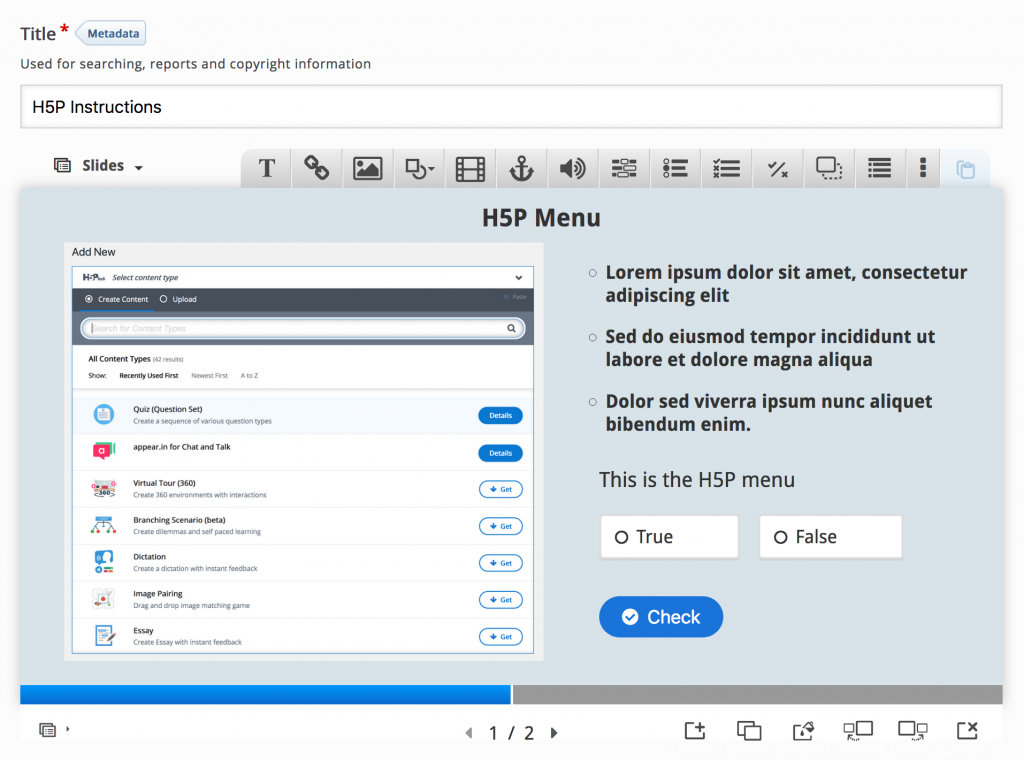
Once you have selected Course Presentation from the list, you will see the Course Presentation editor. The menu across the top displays icons for every type of tool you can add onto a slide. The options include text, links, images, video, sound, drag & drop, multiple choice, and more.
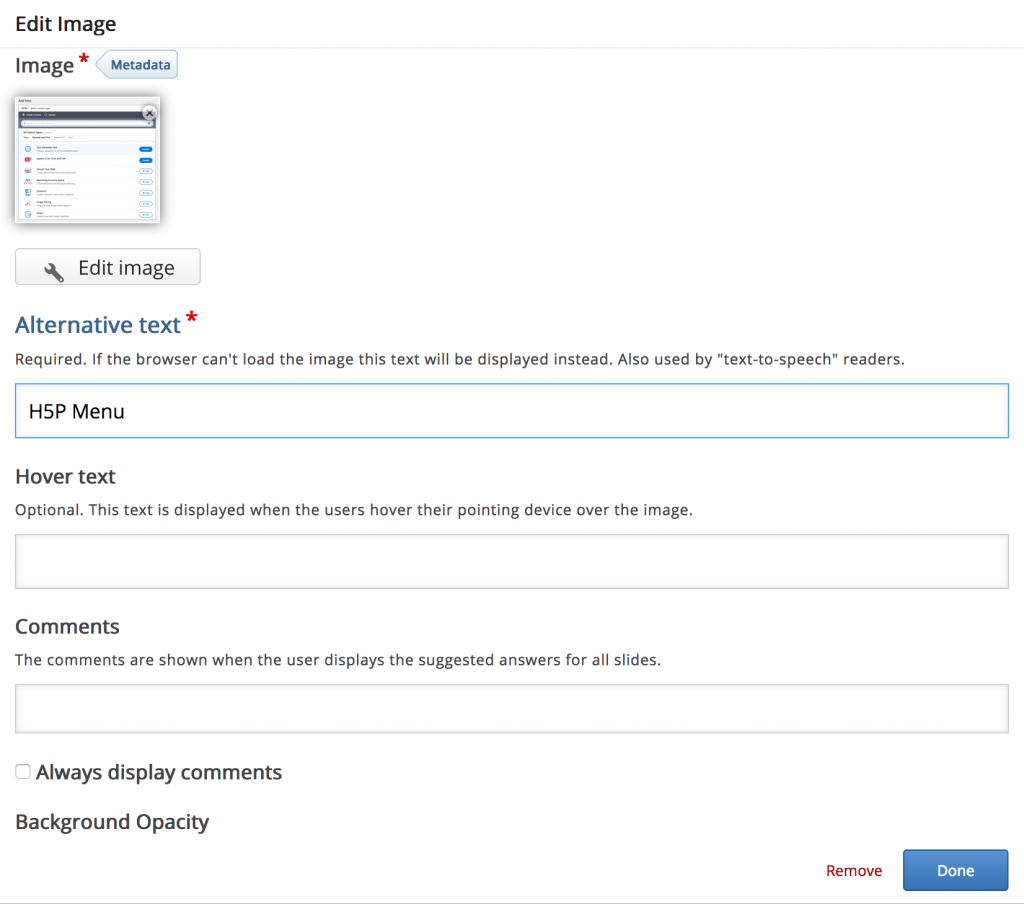
Once you select a tool, a window with the tool’s properties will appear. For example, in images, you first need to upload an image file by clicking “Add”. Then you can enter alternate text (in case the image does not show up in the browser and so it can be read by text-to-speech readers) adjust image background opacity, edit the image, or add metadata. When you are done making changes, click “Done”.
You can add more than one tool to a slide, just like in a regular presentation. This side contains text, an image, and a true/false question.
In order to save the work you have done to your presentation, you must first click the “Create” button on the right-hand side of the screen, under “Actions”.

Now that your presentation has been created, the create button will change to the “update” button. Use the update button to save any changes you make to your presentation.

To add your presentation to a WordPress site, you must first copy the the embed code. Click “H5P Content” in the sidebar and you will see a list of all of your H5P content. Select the content you would like to embed by clicking the title.

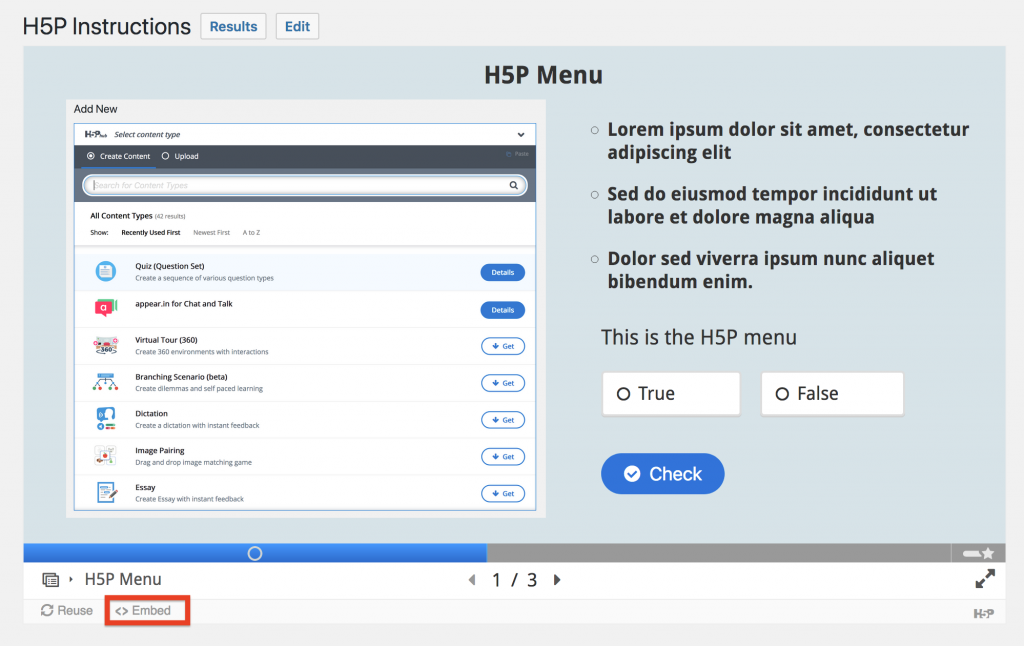
Across the bottom of the presentation, you will see “Embed”. Select it and copy the highlighted text.
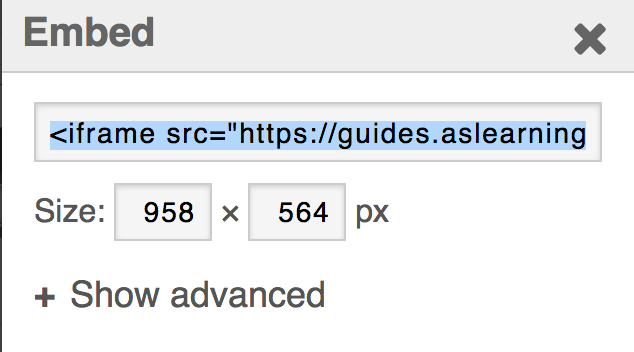
Now you can paste the embed code to your WordPress site or to a Collab site.
For more information on Course Presentations in H5P, check out this tutorial at H5P.org.
